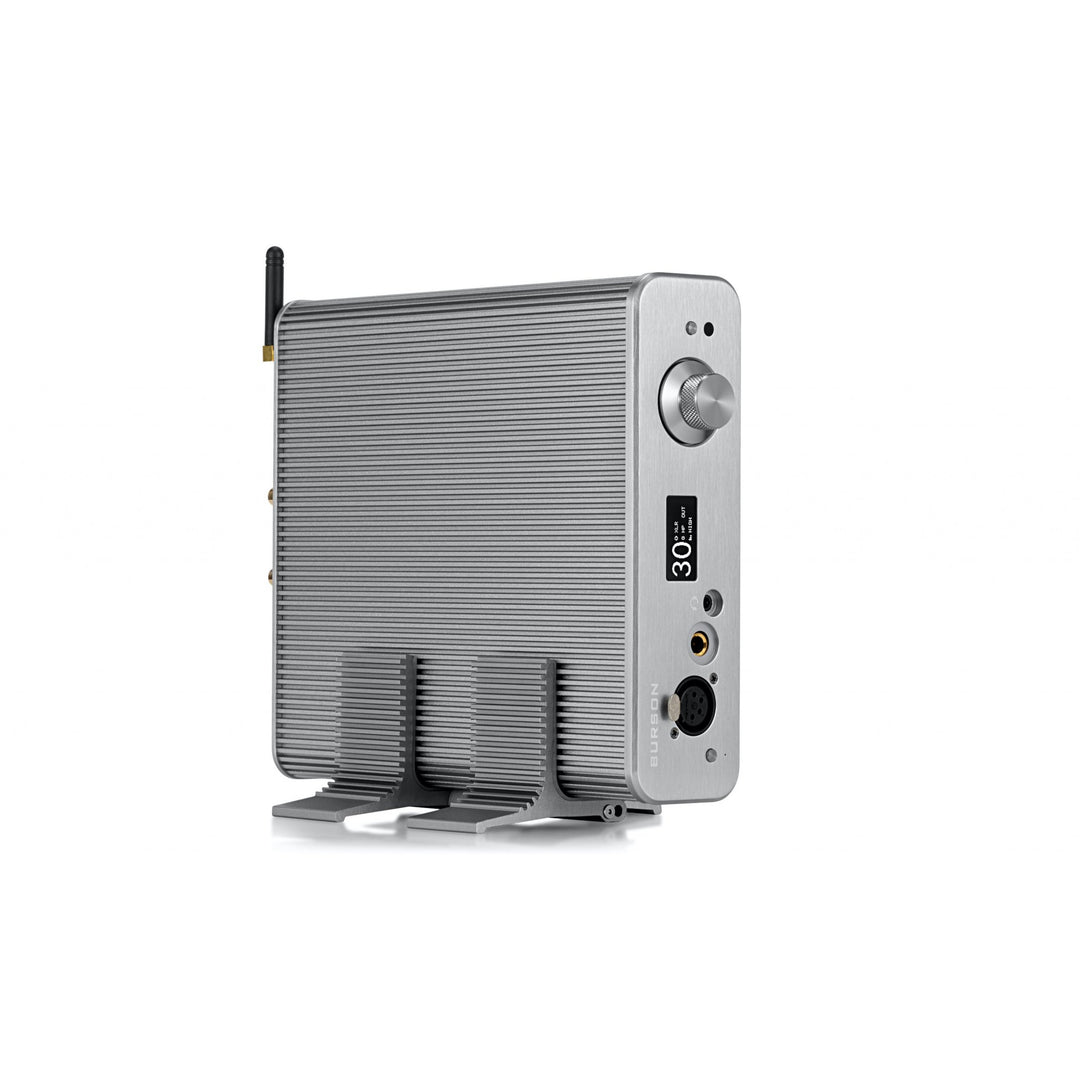
May amplifier is the Burson Soloist 3XP.
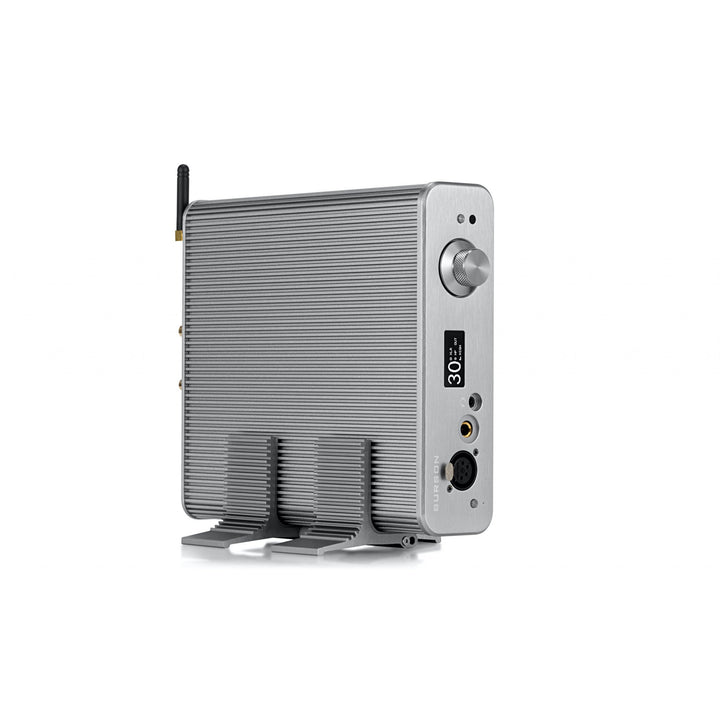
Originally, the Soloist was set up horizontally with a cookie cooling rack that I seized from the kitchen. After several hours of use I would -curiously- feel underneath the amp to have an idea of the heat generation/accumulation. And as typical of a Class A amp, it gets hot. Worryingly hot. An IR thermometer indicated an average surface temperature of +130° F which is enough to want to add active cooling (a small but annoyingly loud USB fan) and look to purchasing the Burson Cool Stand solution. The stand is pricey, but it was was an obvious choice/solution for my amp...better than the half-baked cookie rack idea. Purchasing the cooling stand from Bloom Audio was a first rate experience (shipped fast, arrived quickly/on-time, and the best on-line retail service I have yet had - thank you B/A:-) and the stand is well built and very sturdy. Right out of the box, the Soloist 3XP fit precisely in the stand which incidentally, liberated several inches of desktop space for more audio equipment. With the Soloist now in the vertical position, temperatures are satisfyingly less than 100°F throughout the outer surface of the unique heatsink case. Aesthetics of the amp and stand combination are far more pleasing in actuality than any picture can demonstrate. Overall very happy and I'd highly recommend the Burson Cool Stand and purchasing from Bloom Audio!
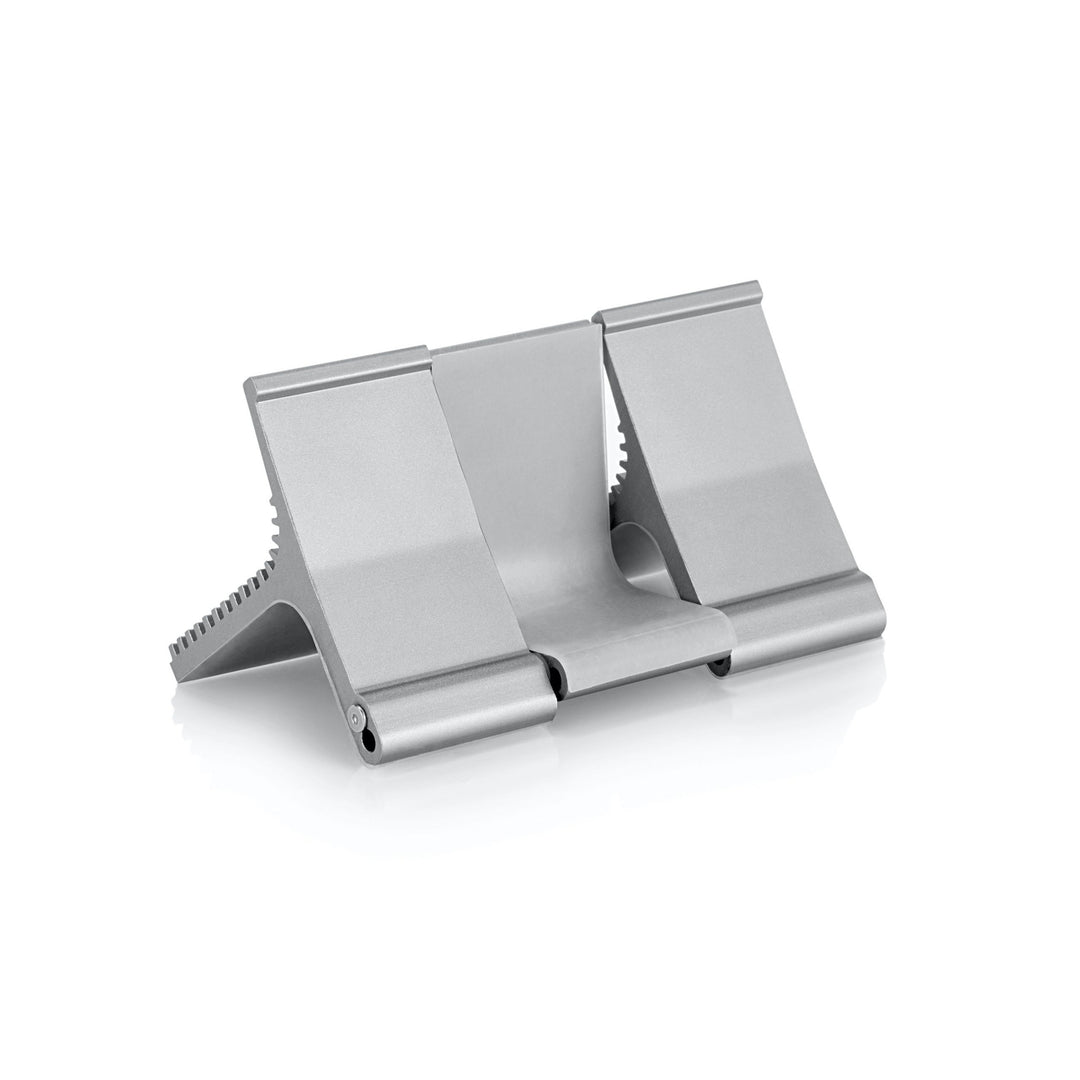
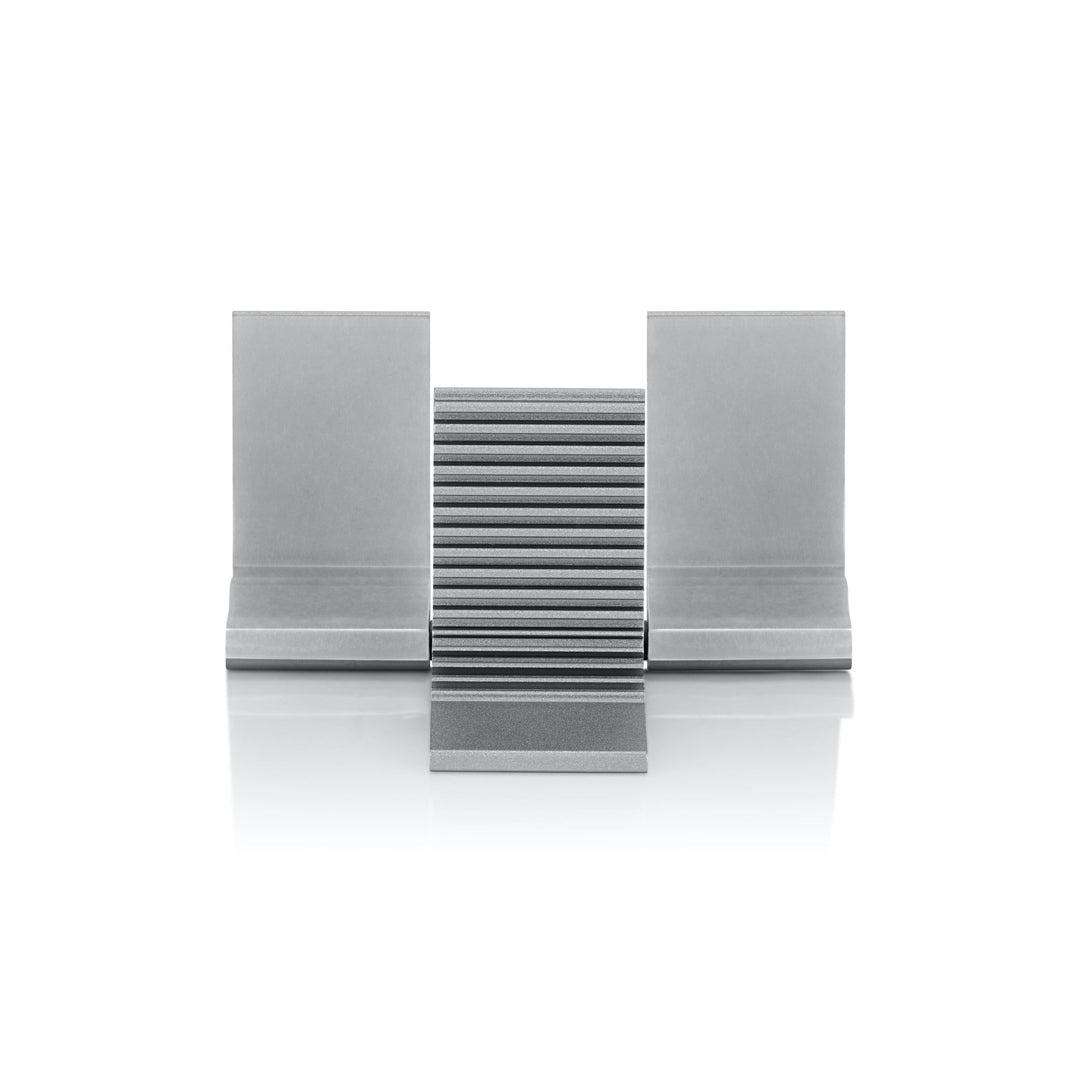
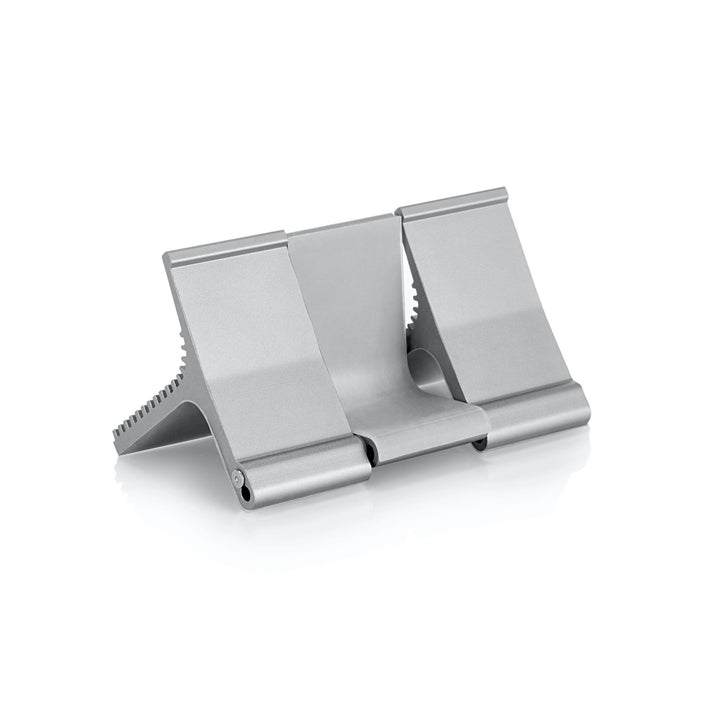
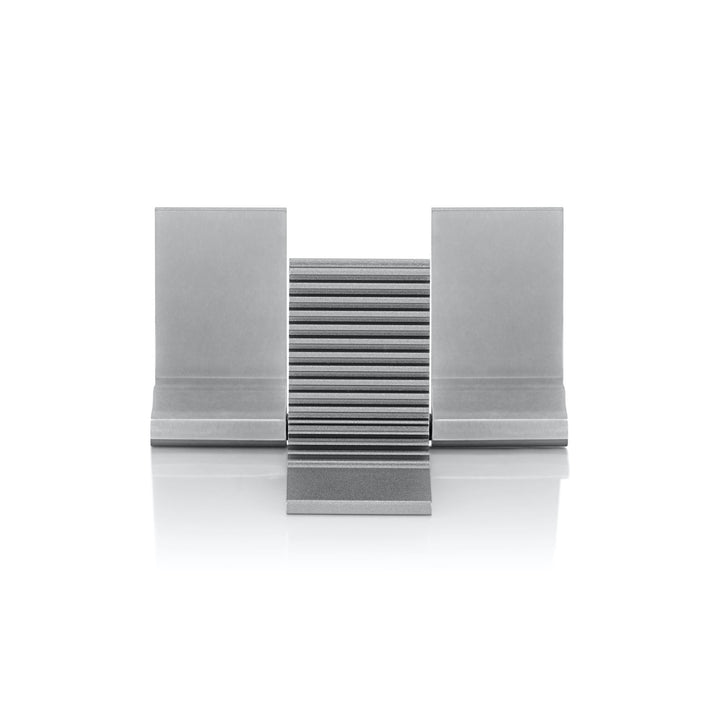
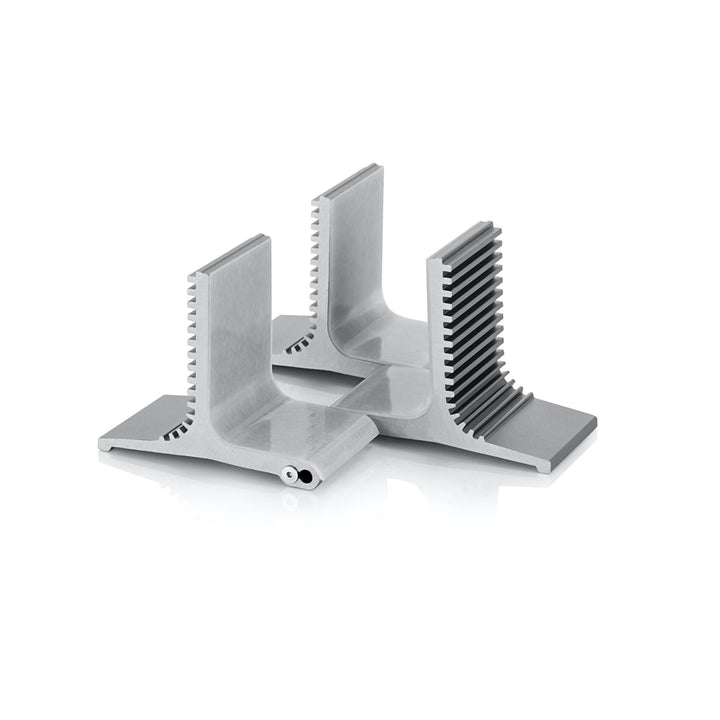
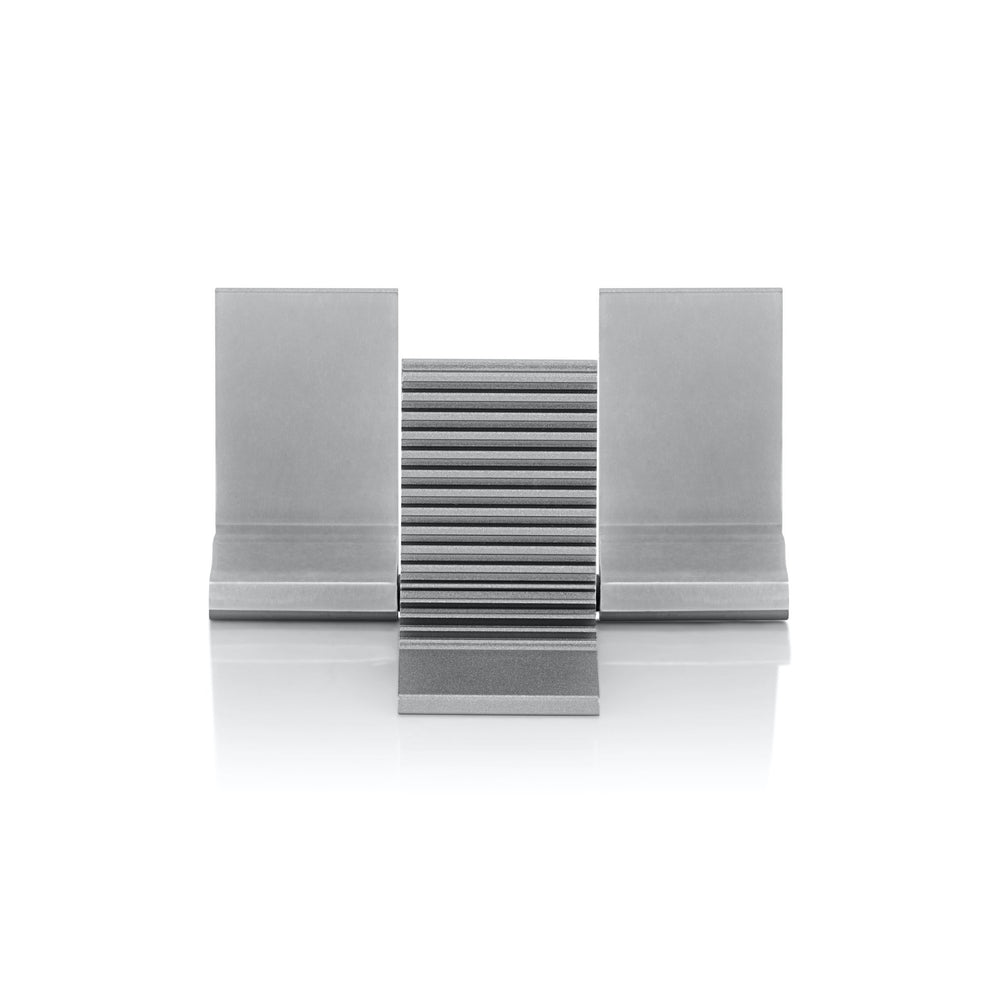
The Burson Cool Stand is made of high quality materials, looks seemless with the Soloist 3XP, and helps to disburse the massive amount of heat the amp produces when in use.
I was glad I had read the review posted by @Thomas Davis before I received the stand, as it helped me quickly realize that I too needed to make adjustments to the stand before using it with my amp so that it would be held securely.
I want to give a shout-out to Bloom Audio customer service too. I experienced an issue when my placing my order and reached out to customer service. They were very quick to respond and resolved my issue expeditiously.
When I received my order from Bloom, I was greeted with another nice, personal touch. The package had a hand-written "Thank you" on my order sheet, and there was also a candy bar included.
Item came in well packaged and worked as intended. My Burson Soloist 3XP + 3A supercharger runs very hot horizontally but much better vertically.
I purchased this little stand to go along with my recently purchased Burson Audio Conductor 3 Performance Amplifier/DAC/Pre-Amp. I think the aesthetic of both the stand and amplifier is unlike anything I've seen before, it's really an interesting looking thing of beauty. Most importantly to me, however, is the idea that this stand should extend the cooling ability of the amplifier beyond the scope of which it's outer shell handles that duty. It also will free up a bit more space on my six foot desktop. My desktop system had been running on an Emotiva XDA-2 Gen 2 DAC/Headphone Amplifier, a full size audio component borrowed from my main audio system.
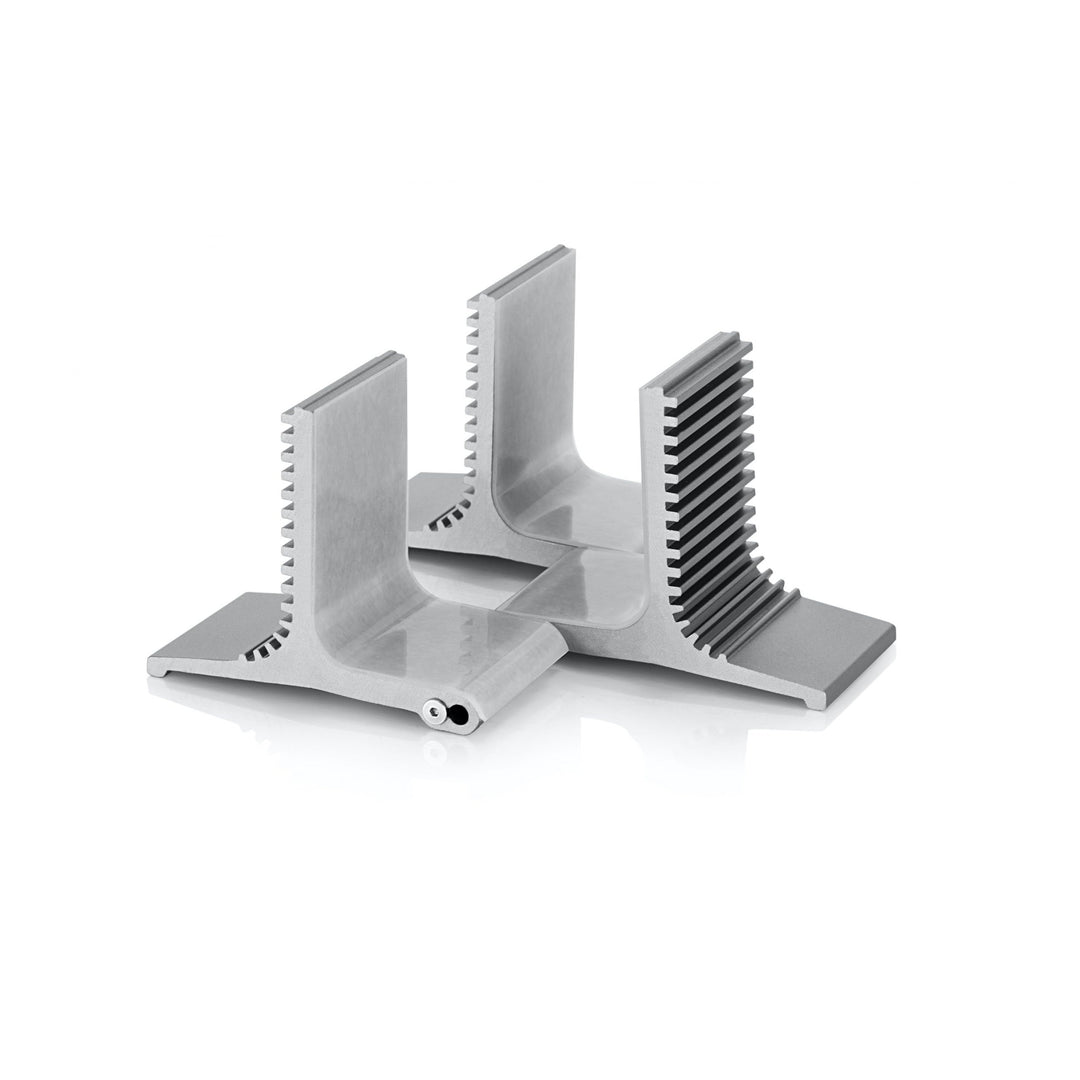
I was a bit confused when I removed the stand from the box and needed to take a close look at it because it was obvious that something wasn't right and that it wasn't going to work as it came. You're going to need to loosen one of the tiny allen head screws and remove the aluminum rod that runs through the three pieces of the stand. Be careful not to lose either of the two nylon washers or the loose screw. The middle section needs to be rotated so that it faces in the other direction. Just slide the rod back through the aligning holes of each piece, replacing the nylon washers, and then screw the tiny screw back in. I used both of the included allen wrenches to tighten thoroughly. Voila, the stand now works perfectly! I like the fact that they have added a silicon lining to prevent the stand from scratching the amplifier. It's a nice touch.
I highly recommend the purchase of these stands along with your new Burson Audio product. They're well built, functional and stunningly gorgeous in my opinion.


