
So you just got your new turntable, and when you get it out of the box, it's clear that there's a little more to setting this up than plugging everything in. While one of the benefits of digital setups is that they’re essentially plug-and-play, a good analog setup requires extra care and calibration to get the best results. A turntable is going to be a lot more sensitive to placement and movement than digital, so beyond just making sure that all the right things are plugged in, there are a number of considerations for a vinyl setup involve alignment and vibration management.

Leveling the Turntable
This may seem kind of silly at first, but the first thing you want to do is make sure that your turntable is perfectly level. Most turntables have adjustable feet, so this part of the setup can be accomplished with a traditional level or even a phone app.
-
Check that the surface you’re placing the turntable onto is level to begin with.
-
Adjust the feet so that the turntable doesn’t wobble and so that it’s perfectly level.

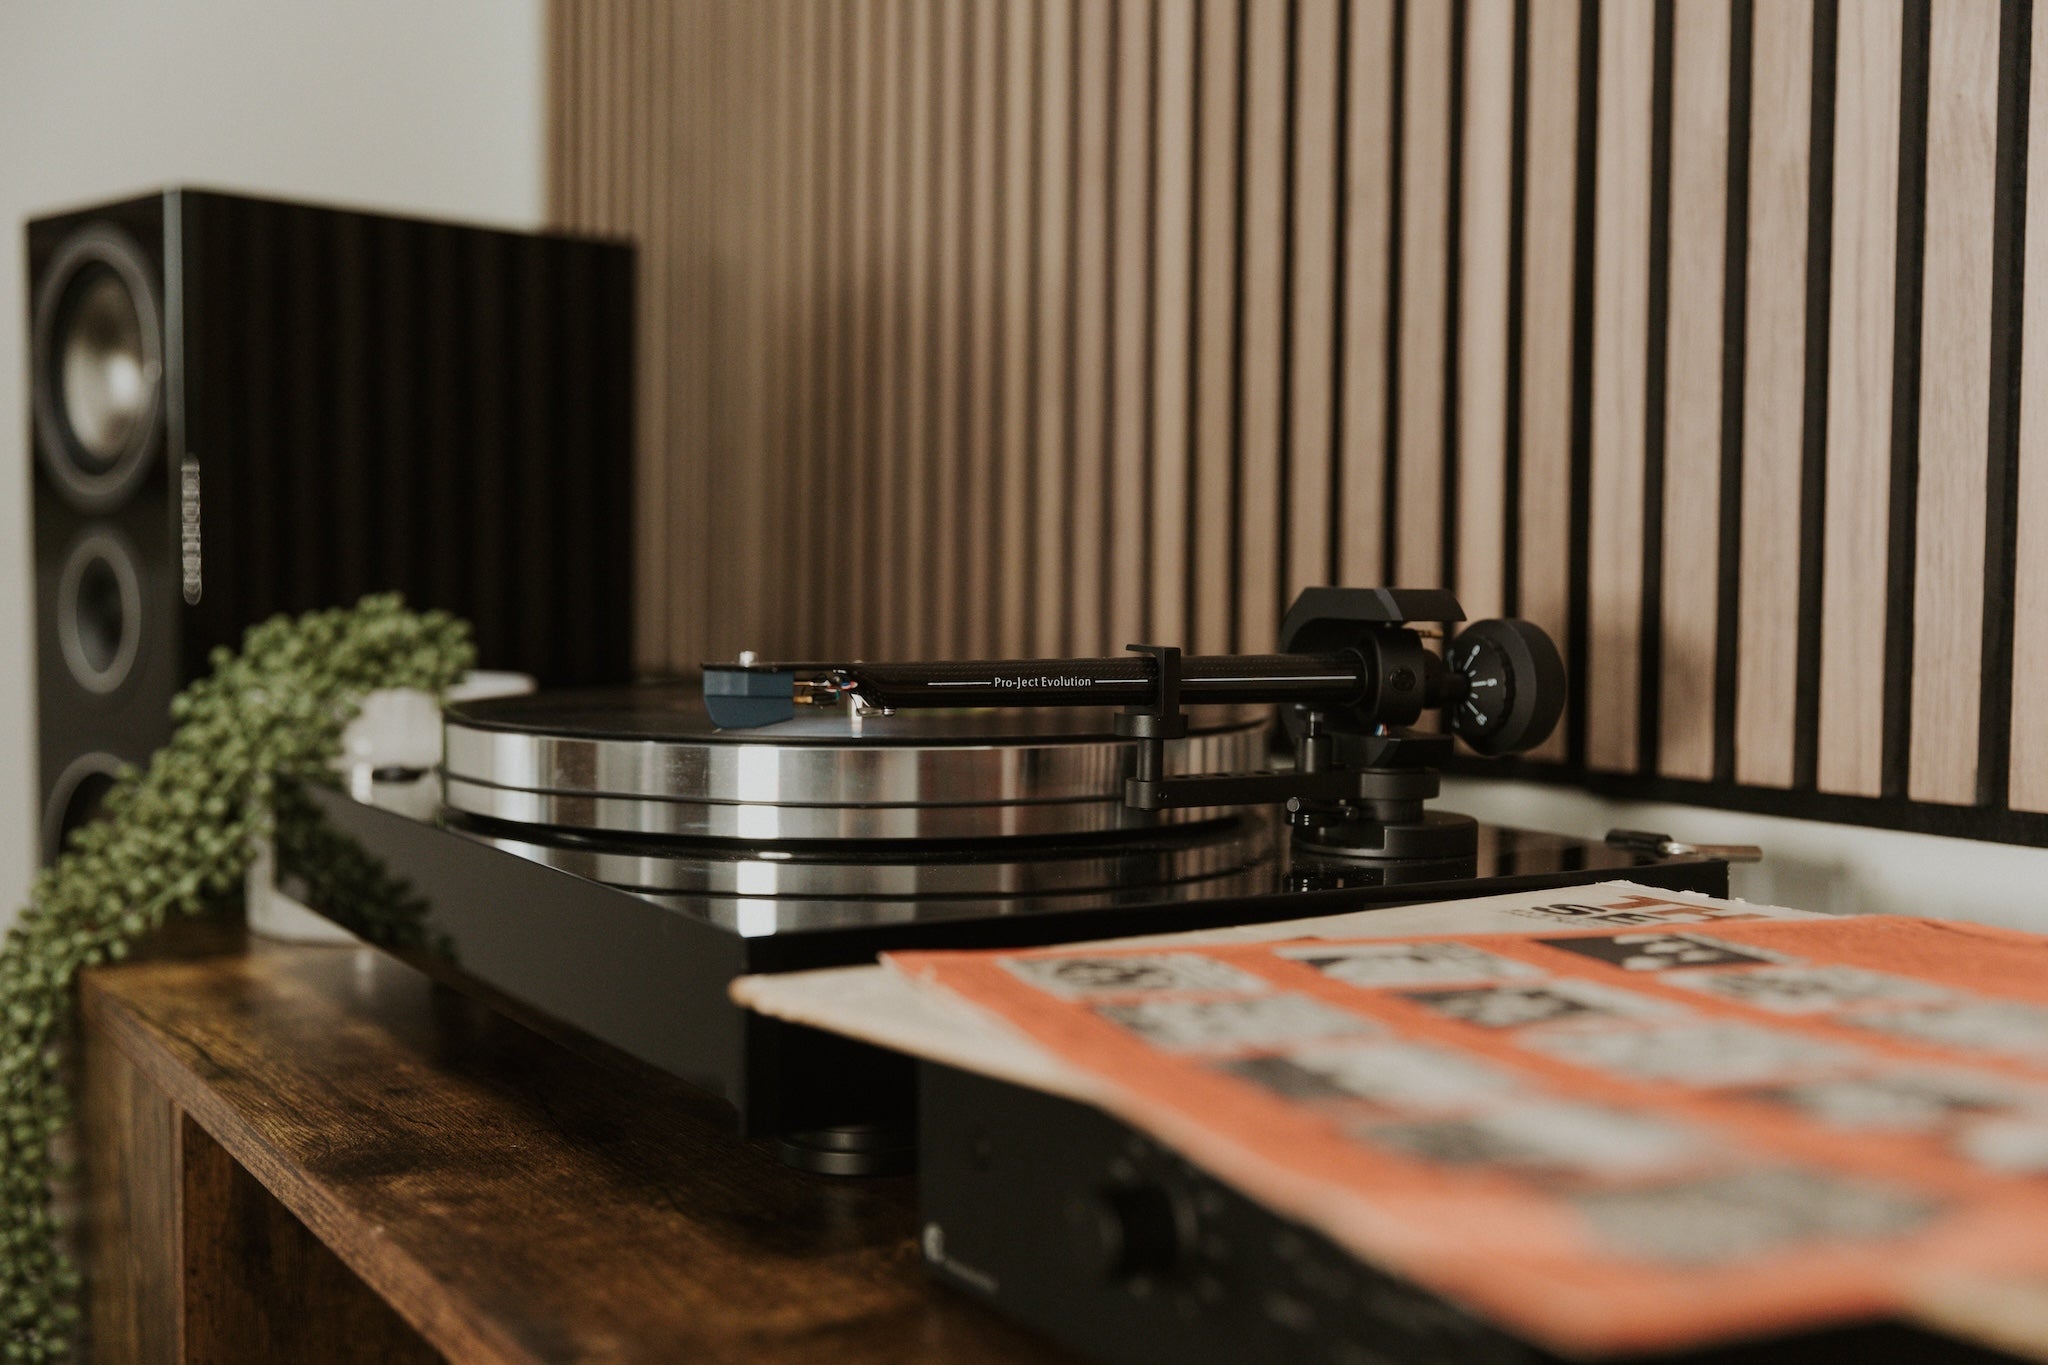
Balancing the Tonearm
While most turntables come balanced out of the factory, even if you purchase it in person at a store, in between the calibration at the factory and arriving at your home, it was likely thrown on a truck at least twice by a delivery worker who doesn’t appreciate the sensitivity of quality audio components. The most important part of this setup is adjusting the counter-weight to balance the tonearm.

Balancing the tonearm just takes a few steps:
-
Find the anti-skate setting and set it to 0.
-
Remove the tonearm from the yoke support.
-
Adjust the weight (typically there is a mechanism that you can spin) so that the tonearm floats without tilting to either side.
-
Readjust the anti-skate weight while keeping the weight in balance tonearm.


With the leveling and balancing done, you’ll be ready to finish making connections and start listening to music!
Connecting Your Phono Stage and Amp
Now you’re onto the final step, and there are just a couple considerations left. If you’re using a built-in phono stage on your turntable, you can simply flip that on, and connect your turntable to the amplifier or speakers.

Similarly if you’re connecting to speakers or an integrated amplifier with a phono stage built-in, just make sure that you’re connected to the correct input, and you’re good to go.

If you’re using a standalone phono stage, then you’ll need to connect the turntable to the phono stage input and then connect the phono stage output to the amplifier or speakers.

Your phono stage may have some settings which need to be adjusted for optimal performance.
-
Make sure you have the correct type of cartridge selected between MM (Moving Magnet) or MC (Moving Coil). If you don’t know which you have, it’s likely MM.
-
Adjust the gain. You’ll need to actually playback some music to find the best gain level, but you’ll want it at the highest level you can get without getting background noise.
-
There may also be a “Loading” option for setting the impedance. You can adjust this by ear, but it’s best to check the manual for your turntable or cartridge to find the optimum setting.
Once you have your turntable and phono stage set up, and everything calibrated, it’s time to drop the needle and enjoy the music!


